
Children have a tendency to lose clothes. They feel warm so they take their jumper off and leave it in the playground, they sit next to their friend and confuse their PE t-shirt with theirs. It’s normal! But it is still annoying when you have to buy the third hat this week… That is where our iron-on labels come in!
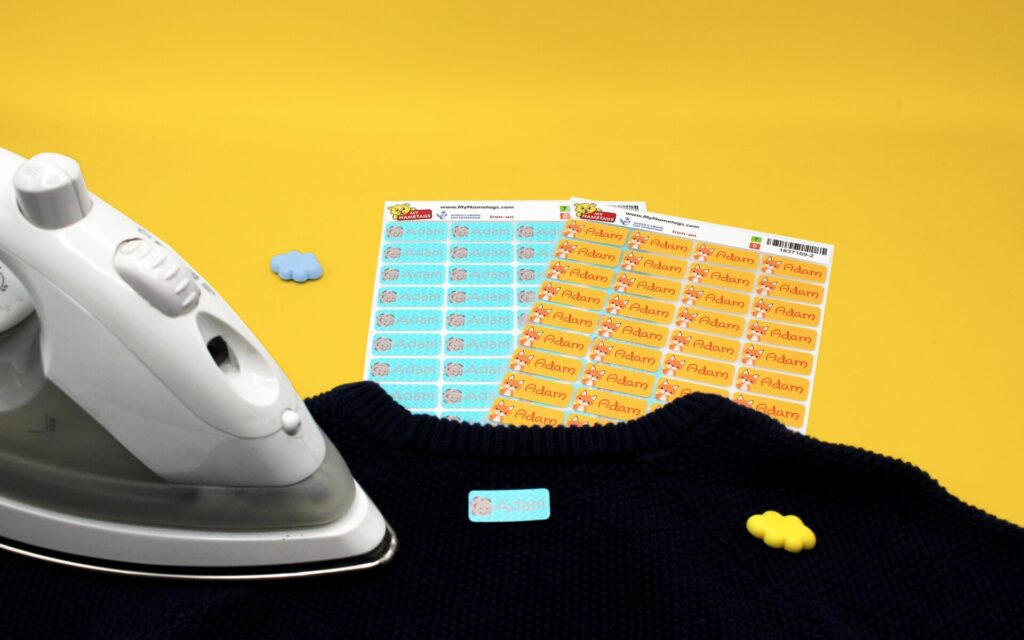
Jumpers, t-shirts, trousers, coats, hats, everything gets identified. Our iron-on labels are a fun, easy way to label all your child’s clothing and uniforms. The nametags are waterproof, can go in the washing machine, dryer and are designed to withstand the active day-to-day of a child. We are also the only label company that offers you a 10-year guarantee.
While our iron-ons are quick and easy to apply, we thought we would share some of our top tips on how to apply iron-on name labels to ensure you make the most of the iron-on name tags and that they stay on for a long, long time.
1. Make sure the clothing is ironable before applying the labels
Iron-on labels need a lot of heat to be applied correctly and some fabrics such as acrylics or other synthetic materials cannot withstand such heat, so we recommend you do not use the iron-ons on these materials. If you still want to risk it though you can lower the temperature of the iron and iron the labels onto the item for longer, however this may not always work.
2. Turn off steam setting on the iron
Nowadays all irons use the steam setting, but the water from the steam could get into the hot-melt glue of the labels and weaken it so you should turn this off. It is also worth noting that the silicone paper is waterproof so the steam will likely come up and hurt your hand. When you do turn off the steam you might find that the iron is not heating to the max temperature, if this is the case empty out the water in the iron so it can reach the highest temperature.
3. Carefully place the label on clothing and ensure you use silicone paper
It is important to use the silicone paper we have provided to ensure the labels do not melt. Simply place the silicone paper over the carefully placed label and try not move the iron as much as possible.
4. Turn up heat to the max temp
By ironing on the labels, you are essentially melting the hot-melt glue onto the fabric so you need to make sure the temperature of your iron is hot enough. You want to have the iron on high heat which on most irons means selecting the three dots or a linen/cotton setting, either way the maximum dial should do it! If you have a newer or cheaper iron that does not get hot enough you need to ensure you hold it for a little longer. Usually, the ideal temperature for the hot-melt glue to stick would be around 150-170 °C.
5. Adjust the time you iron on the label according to your iron
If your iron does not get to the temperatures indicated when on high heat you must hold it for slightly longer. As we mentioned in the previous point your iron will successfully melt the hot-melt glue when it gets to temperatures from 150 to 170 °C and is held for 8-15 seconds but irons are not all the same so you may need to hold it for longer. Newer or cheaper irons especially tend to not get hot enough so if after you try to apply a first label you find that it is not sticking properly try holding it for longer but do not forget to check if the fabric can withstand the temperature.
Once you get the hang of it, you will see how you will not want to use anything else, labels that do not stay or the time consuming sew-ons will be a thing of the past!
